A step by step Guide on how to view your candidates’ eligibility to exam results
a. Ordering an exam voucher through PASSPORT
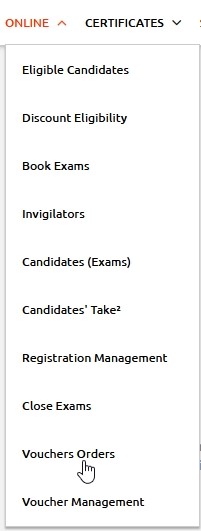
Step 1: Click on the Online menu, then click on Vouchers Orders from the top menu.
Step 2: Click on Add New button and complete the form. Please note that the Trainer field is only mandatory for ATOs (with a N/A option where applicable), so that candidates skip this step during registration.
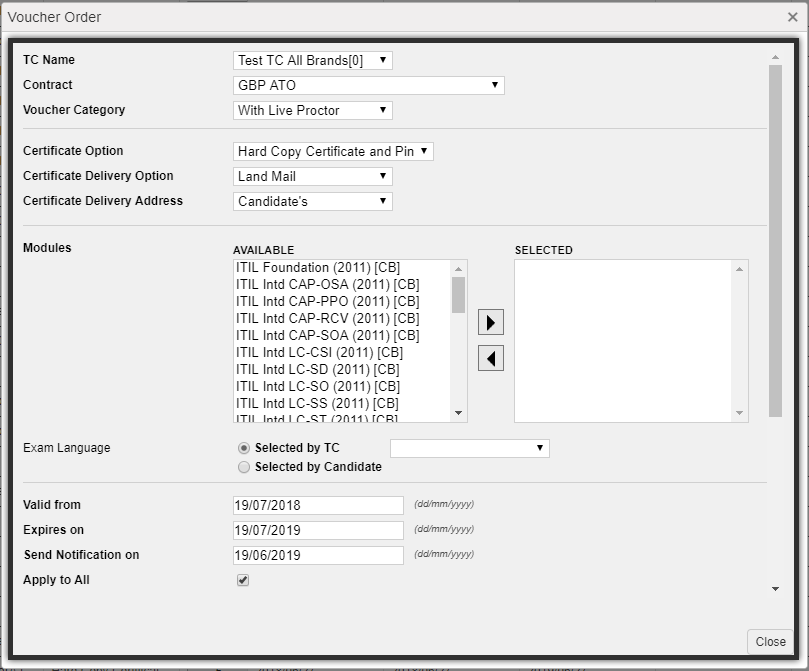
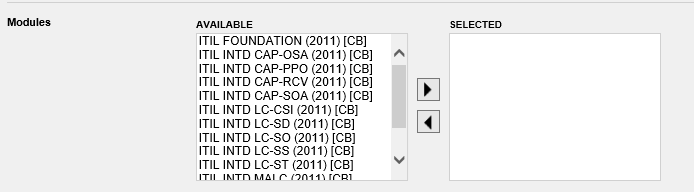
• Select Modules to order vouchers for more than one GBP modules (e.g. all the ITIL Lifecycle modules for one specific group of candidates).
You can select the Take2 Re-sit Exam Option for a voucher order by checking the related field. The service will apply for all vouchers. If the field is left unchecked, then candidates will have the ability to purchase the add-on service themselves through candidate area after registration.
Please, note that the specific field will be displayed only if all selected modules support the add-on service.
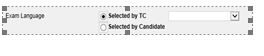
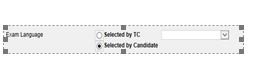
- Option 1: Click on Selected by TC to select the exam language of the vouchers (candidates will not have the option to change it during registration).
- Option 2: Click on Selected by Candidate to allow the candidate to select the exam language during his / her registration.
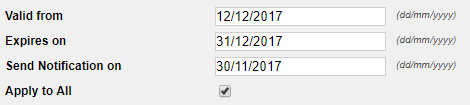
- You can change the vouchers’ Valid from/ Expires on dates.
- You can also change the Notification date of the automatic reminder e-mail sent to each candidate (default is 1 month prior to the Voucher expiry date).
You can: - Check Apply to All (default), or
- Uncheck Apply to All and choose the dates for each candidate.
Step 3: If you want candidates to receive the exam voucher directly from PeopleCert, you can either:
Option A: Select Create/Update Mail List in the Voucher Order form and add the e-mails and names of the candidates who you want to receive the vouchers information.
Option B: Upload your candidate list in an Excel file with the file extension *.xls or *.xlsx
To upload your files, follow the steps below:
- Click Choose File to find the file you want.
- Click Open to select the file.
- Click Upload.
Your data will appear on the form.
Step 4: An automatic notification e-mail with the exam voucher numbers will be sent to you, together with step by step candidate instructions.
Step 5: These exam voucher numbers should then be sent to the candidates so that they can redeem them following the instructions (not applicable in the case of Step 3).
NOTE: Alternatively, you can click on an order and then on Duplicate Voucher Order to open a similar order form with some fields already filled.
NOTE: If you have selected multiple exam modules for your order, each recipient added in Step 4 will receive 1 exam voucher for each exam module.
b. How do I manage my exam vouchers through PASSPORT? (Passport)
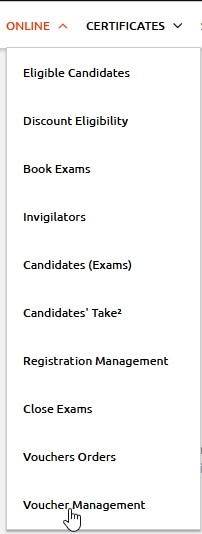
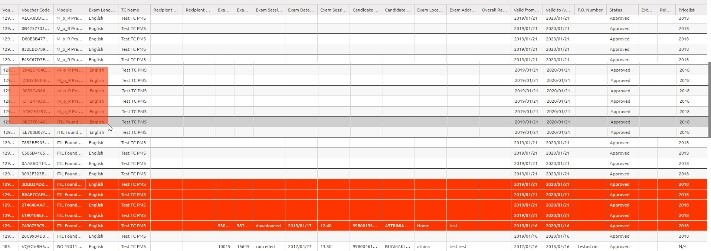
Step 1: Click the Online menu, then click on Voucher Management to view details on your exam vouchers, including their status, if they have been redeemed and by whom:


- Voucher Order
- Voucher Code
- Module
- Exam Language
- TC Name
- Recipient name
- Recipient e-mail
- Exam ID *
- Exam Session ID *
- Exam Session Status *
- Exam Date (yyyy/mm/dd) *
- Exam Session Start Time (hh:mm) *
- Candidate Number *
- Candidate Name *
- Exam Location *
- Exam Address *
- Overall Results (Candidates’ overall results)
- Valid from (yyyy/mm/dd)
- Valid to (yyyy/mm/dd)
- P.O. Number
- Status
- Extensions
- Releases
- Pricelist
*These fields are completed automatically once the candidate has booked an exam using the exam voucher.
Step 2: Select the vouchers you want to extend their expiration date, release, cancel or resend their registration emails. You can select the vouchers either by:
Option A: Clicking and dragging to highlight your selection.
Option B: Using the SHIFT and CTRL functionality to highlight multiple records.
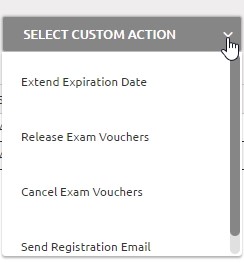
Step 3: By clicking the Select Custom Action button on the top right corner you can either release, cancel or extent the expiration date of the selected vouchers.
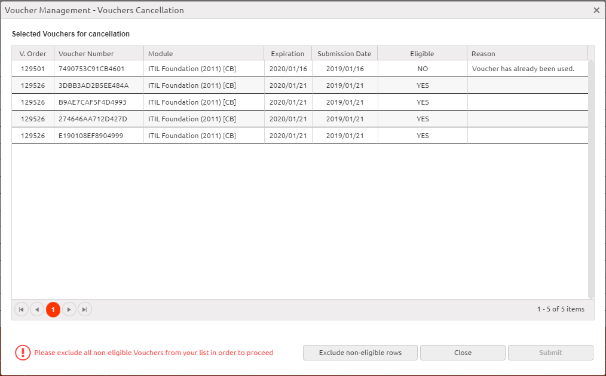
Step 4: A form including the information about the selected vouchers will appear. If any vouchers are not eligible for the action the Reason column will contain the appropriate details. By clicking on Exclude non-eligible Vouchers button only the eligible vouchers will remain in the form. Click on Submit to complete your action
Step 5: A confirmation message will appear. Click Yes, proceed to finalize your action.